

Welcome to My Blog
Wednesday, November 2, 2011
Madison ~~Prima~~

Close-ups and techniques for flourish on "Madison"

This is a close-up of the Dusty Attic Flourish that I altered. I used a tutorial from Natasha's (My Moments of Tranquility). First I painted the chipboard white and let that dry. I then ran it through my Vagabond using a Tim Holtz Texture Fade. After that I added some Smooch (Pink) and then rubbed away the excess. After that I put a heavy coat of Tim Holtz Rock Candy. I did the same for the three butterflies. Thanks for looking and I hope you enjoy!!
Friday, October 28, 2011
Tutorial for Memory Glass & Frames
Hi Everyone, I thought I'd do a tutorial about the Memory Glass pieces I used on my "SteamPunk Butterfly" Reverse Canvas. These are so fun to work with!

Here's a photo of the items you'll need for this project:

Step 1: Use some Embossing Ink on your stamp and place it where you want it on the piece of glass. Then use some Embossing Powder and use a heat tool to set it.
Step 2: After the stamping is dry I decided to give it a more grungy and aged look so I misted it with some Smooch (Orange).

Step 3: After letting the mist dry I also dapped some Tim Holtz Distress Stain (Vintage Photo) to complete a more aged look to the glass.


Step 4: After the glass is completely dry it's time to put the glass into the frame and tape the frame. I used the 1/4" tape.

Step 5: After taping the foil around the frame I used some Tim Holtz Alcohol Inks to color the foil. I used a cotton pad on my ink applicator and inked it with a few drops of each color and then dapped the foil with the pad. I did this several times, letting it dry between applications.

You can also use a small photo, dye cut, or whatever you'd like. I used a small die cut from Graphic 45.

Thanks for taking a peek, this is really a fun embelishment to work with because they're so small that you can add them to a page with ease!!

Here's a photo of the items you'll need for this project:

Step 1: Use some Embossing Ink on your stamp and place it where you want it on the piece of glass. Then use some Embossing Powder and use a heat tool to set it.
Step 2: After the stamping is dry I decided to give it a more grungy and aged look so I misted it with some Smooch (Orange).

Step 3: After letting the mist dry I also dapped some Tim Holtz Distress Stain (Vintage Photo) to complete a more aged look to the glass.


Step 4: After the glass is completely dry it's time to put the glass into the frame and tape the frame. I used the 1/4" tape.

Step 5: After taping the foil around the frame I used some Tim Holtz Alcohol Inks to color the foil. I used a cotton pad on my ink applicator and inked it with a few drops of each color and then dapped the foil with the pad. I did this several times, letting it dry between applications.

You can also use a small photo, dye cut, or whatever you'd like. I used a small die cut from Graphic 45.

Thanks for taking a peek, this is really a fun embelishment to work with because they're so small that you can add them to a page with ease!!
Wednesday, October 26, 2011
SteamPunk Butterfly ~~Graphic 45~~

Close-ups and techniques For SteamPunk Butterfly
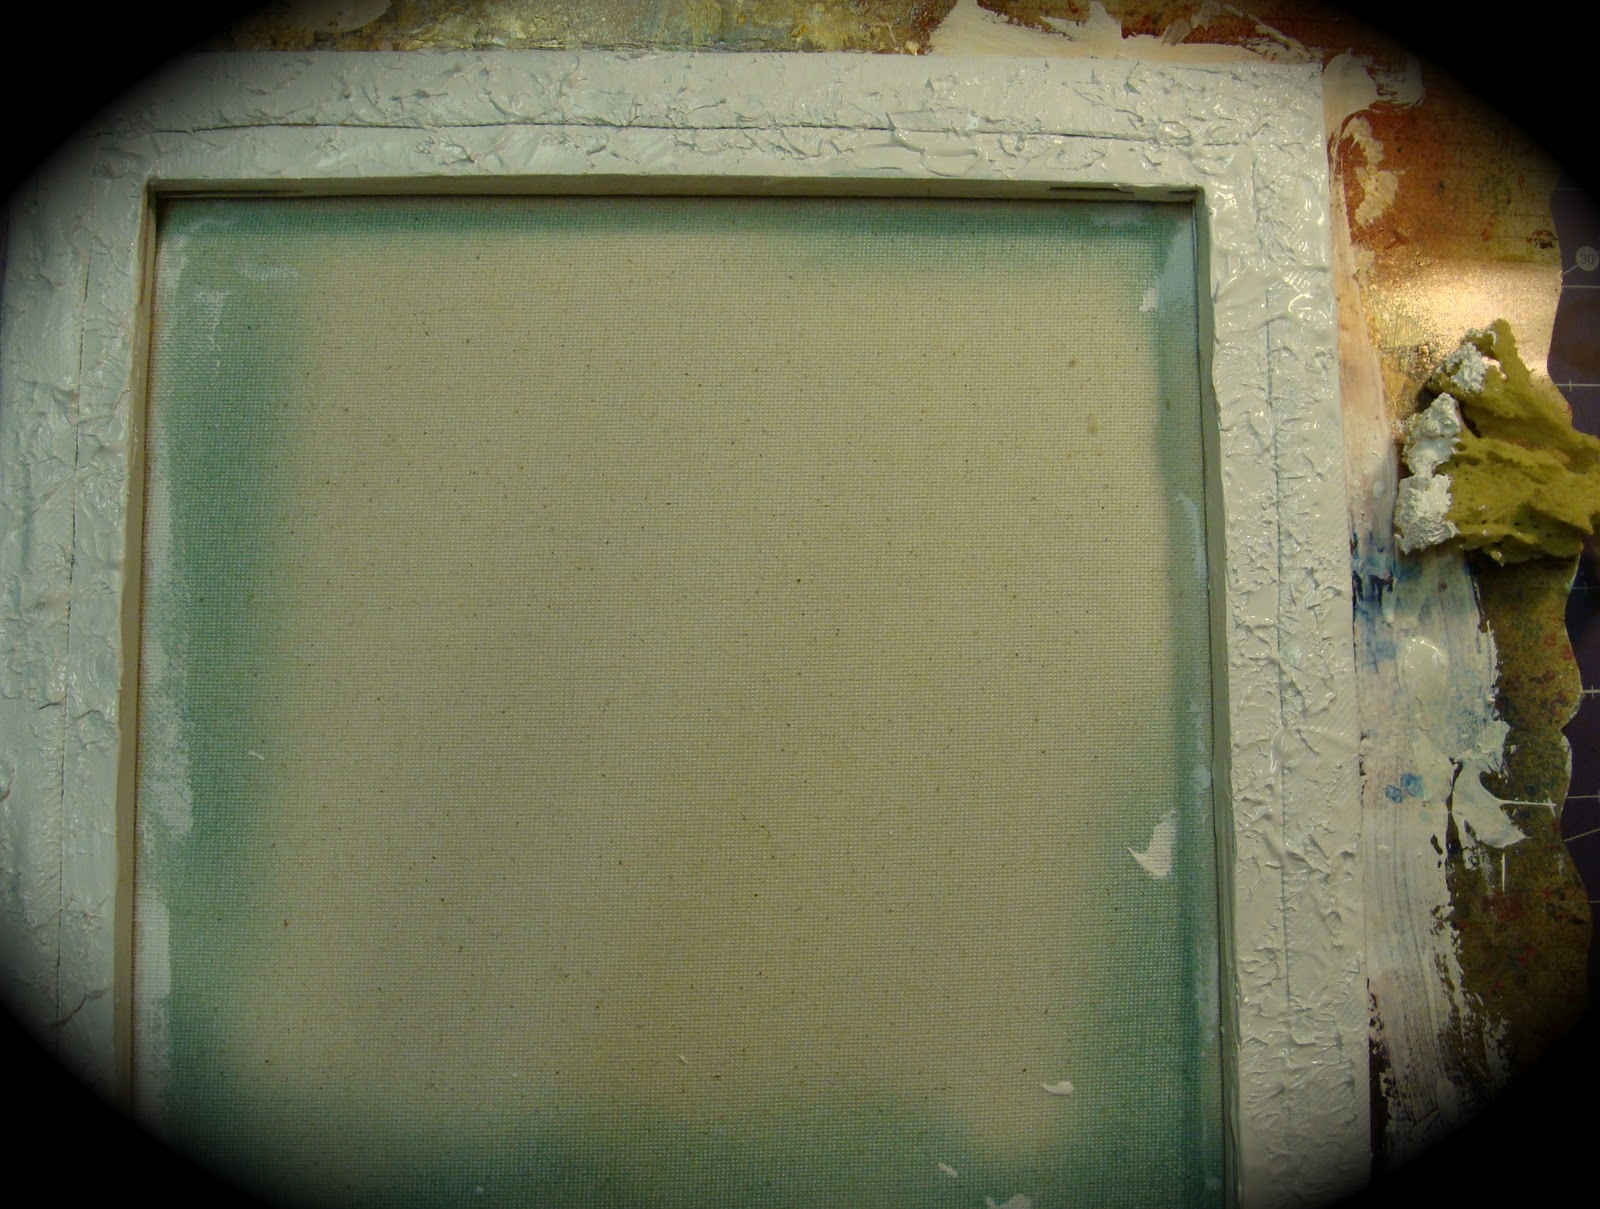


Here's a few photos, sorry about the quality. I first started by using Gesso really heavy on the reverse side of the canvas. I then took a sponge and dapped for some texture. After drying I misted the frame and let that dry. Then I used some Tim Holtz Distress Ink (Gathered Twigs) to ink some more brown where I wanted. For the Dusty Attic corner flourishes I used some Distress Embossing Ink and then adhered some Mica chips. For the grungeboard flowers I first applied some Tim Holtz Distress Paint (Antiqued Bronze) and then applied some Shimmerz Paint (Sparklious) and put the heat gun to it. I also used that process on the small Dusty Attic corner pieces. I have a tutorial posted about the Memory Glass piece on the forum at Scraps of Darkness . TFL!!
Monday, October 24, 2011
New Design Team Members at Scraps of Darkness
I'd like to welcome 2 new Design Team members here at Scraps of Darkness!!
Karolina Stopyra aka Drycha and Rachelle Sigurdson aka Rachie Babe.
They're work is incredible and it's wonderful to have them on our team now!! To see and learn a little bit about them you can go to Scraps of Darkness Blog.
I know you'll all enjoy their work!!
Karolina Stopyra aka Drycha and Rachelle Sigurdson aka Rachie Babe.
They're work is incredible and it's wonderful to have them on our team now!! To see and learn a little bit about them you can go to Scraps of Darkness Blog.
I know you'll all enjoy their work!!
Friday, October 21, 2011
Coming Home

Thursday, October 20, 2011
Love Potion #9 ~~Scraps of Darkness~~


Subscribe to:
Posts (Atom)